


In this blog post, we’ll help you learn how to change the valve air cap on your car’s tires. We’ll cover the necessary steps, including selecting the right type of cap and the tools you’ll need. With our step-by-step guide, you’ll be able to complete this essential car maintenance task with ease. So let’s get started!

The following will explain in detail how to replace a valve air cap in 2 steps:
Step 1: Choose the Right Type of valve air cap
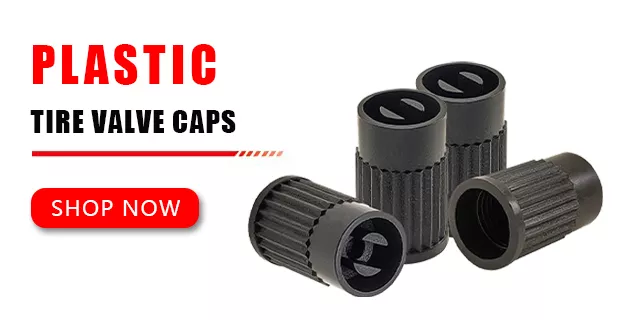
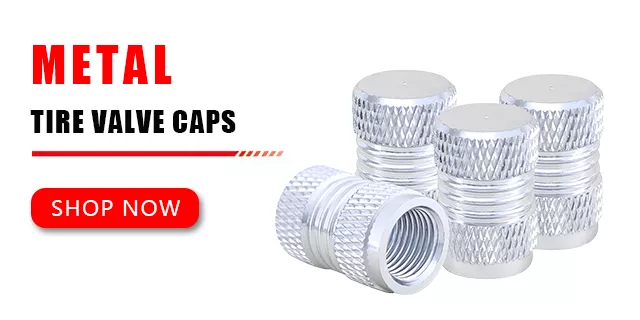
The first step in changing the air cap on your car’s tires is to choose the right type of cap. There are several different types of air caps available, including plastic, metal, and valve stem covers.
It’s important to choose an air cap that fits your valve stem correctly and can withstand the pressure required for your tires. Look for an air cap that is the same size as your current one and is designed for the type of tire you have, such as a high-performance tire or a winter tire.
Step 2: Gather the Necessary Tools
Once you’ve chosen the right type of air cap, the next step is to gather the necessary tools. You’ll need a valve stem tool or a pair of pliers to remove the old air cap and a new air cap to replace it.
If the valve stem is dirty, you can also use a cleaning solution to remove any buildup. You can find valve stem tools and cleaning solutions at your local auto parts store or online.