


Replacing valve stem caps is a simple task that can be done in just a few steps. Here’s a step-by-step guide on how to replace valve stem caps effectively:

- Prepare the Necessary Tools: Gather the tools required for the replacement, which typically include a new set of valve stem caps and possibly a valve cap removal tool. Ensure you have the correct size and type of caps for your valve stems.
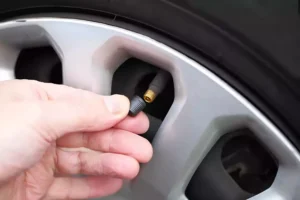
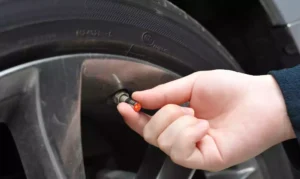
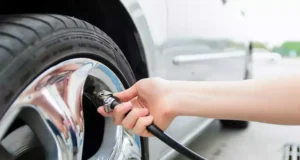
- Remove the Old Valve Stem Cap: If there is an existing valve stem cap, start by removing it. Depending on the type of cap, you can usually unscrew it by hand. If the cap is tightly secured or difficult to remove, you can use a valve cap removal tool or a pair of pliers with rubber-coated jaws to prevent damage to the cap or the valve stem.
- Inspect the Valve Stem: While the valve stem cap is removed, take a moment to inspect the condition of the valve stem. Look for any signs of damage, corrosion, or debris. If you notice any issues with the valve stem, such as visible damage or air leakage, it may require further inspection or professional assistance.
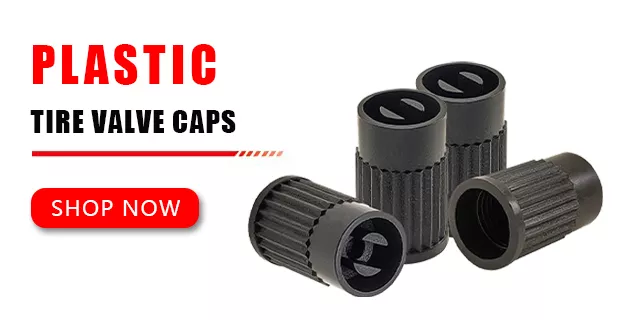
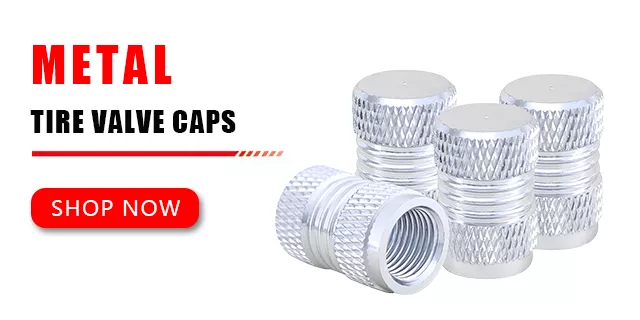
- Prepare the New Valve Stem Cap: Take a new valve stem cap and ensure it is compatible with your valve stem size and type. Check if it has any additional features such as rubber seals or O-rings for improved sealing. It’s also a good idea to clean the new cap using a mild detergent and water to remove any dust or debris.
- Install the New Valve Stem Cap: Align the new valve stem cap with the valve stem and gently press it onto the threads. Rotate the cap clockwise to tighten it securely onto the valve stem. Apply moderate pressure, but avoid over-tightening, as it may damage the valve stem or cause air leakage. Ensure the cap is firmly in place.
- Repeat the Process for the Remaining Valve Stems: If you are replacing multiple valve stem caps, repeat the same steps for each one. Take your time to ensure proper installation and sealing for each valve stem.
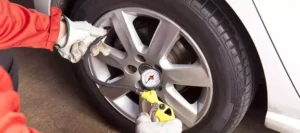
- Perform a Final Check: After replacing all the valve stem caps, do a visual inspection to ensure they are securely in place. Give them a gentle tug to confirm they are properly seated. It’s also a good practice to check the tire pressure using a pressure gauge to ensure there are no immediate issues after the replacement.
By following these steps, you can easily replace valve stem caps on your vehicle. Remember to choose high-quality caps and perform regular maintenance to keep the valve stems protected and properly sealed. Replacing valve stem caps regularly helps maintain optimal tire inflation and protects the valve stems from dust, dirt, and moisture, contributing to the overall longevity and performance of your tires.