


Taking off a tire air cap may seem like a simple task, but there are certain steps and techniques you can employ to ensure a smooth and efficient process. In this guide, we will walk you through the necessary steps to remove a tire air cap effectively.
Tools Required
Before you begin, gather the following tools:
- Tire pressure gauge
- Valve cap removal tool (optional)
Step 1: Prepare
Start by parking your vehicle on a level surface, away from traffic. Engage the parking brake and switch off the engine for safety. Make sure you have ample lighting to clearly see the valve stem and air cap.
Step 2: Locate the Valve Stem
The valve stem is a small protruding component usually made of rubber or metal that extends from the wheel. It serves as the access point for inflating and deflating the tire. Take a moment to locate the valve stem on the tire you wish to remove the air cap from.
Step 3: Assess the Air Cap
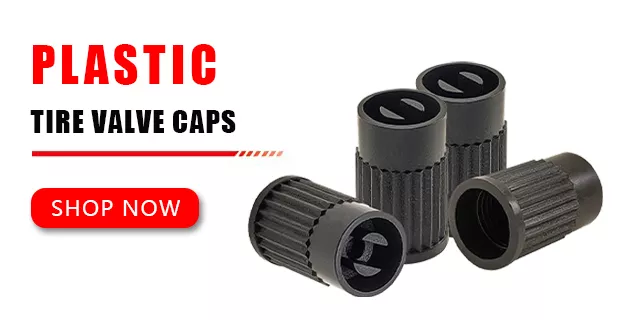
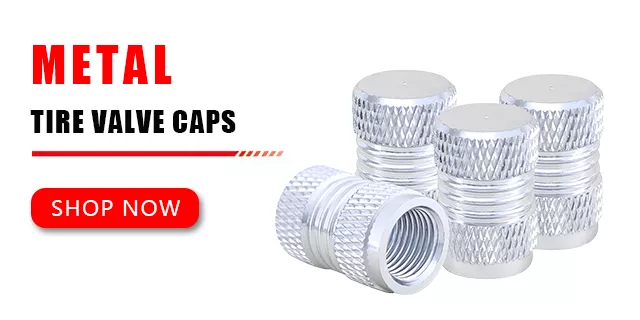
Examine the air cap on the valve stem. It is a small, typically cylindrical piece that covers the valve core. The air cap protects the valve core from dirt, dust, and moisture, ensuring the integrity of the tire’s air pressure.
Step 4: Position Yourself
Position yourself near the valve stem, ensuring that you have a clear line of sight and comfortable access to the air cap. If necessary, use a kneeling pad or a creeper to enhance your comfort while working.
Step 5: Remove the Air Cap
Using your fingers, grip the air cap firmly. Apply gentle pressure while turning it counterclockwise. If the air cap is tightly secured, you may utilize a valve cap removal tool for added leverage. Be careful not to exert excessive force, as it may damage the valve stem.
Step 6: Set Aside the Air Cap
Once the air cap is loosened, carefully remove it from the valve stem. Place it in a secure location, such as your pocket or a clean surface, to prevent loss or contamination.
Step 7: Check the Tire Pressure
Now that the air cap is off, it’s an opportune moment to check the tire pressure. Attach a tire pressure gauge to the valve stem by pressing it firmly onto the valve core. Note the reading on the gauge to assess the current air pressure.
Step 8: Inflate or Deflate (if necessary)
If the tire pressure is below the recommended level, use an air compressor or a manual pump to add air. Conversely, if the tire is overinflated, you can release air by gently pressing the valve core with the tip of a pen or a similar object. Ensure that the tire pressure aligns with the manufacturer’s specifications.
Step 9: Replace the Air Cap
After adjusting the tire pressure, retrieve the air cap and carefully place it back onto the valve stem. Align the threads and turn it clockwise until it is snugly secured. Avoid overtightening, as it may cause damage or make it difficult to remove in the future.
Step 10: Verify Proper Seal
Once the air cap is in place, visually inspect the valve stem to ensure that the air cap is tightly sealed. Look for any signs of leakage or misalignment. If you suspect a faulty seal, consult a professional to avoid tire pressure loss and potential safety hazards.
By following these steps, you can confidently take off a tire air cap and maintain proper tire pressure. Remember to exercise caution and regular maintenance to ensure your vehicle’s optimal performance and safety.